Don’t give up. Let’s have a look at these easy-to-follow tips for you to paint… a flower? Yes! Let’s go back to basics and begin learning how to paint the flower of your preference, with watercolors.
Getting ready
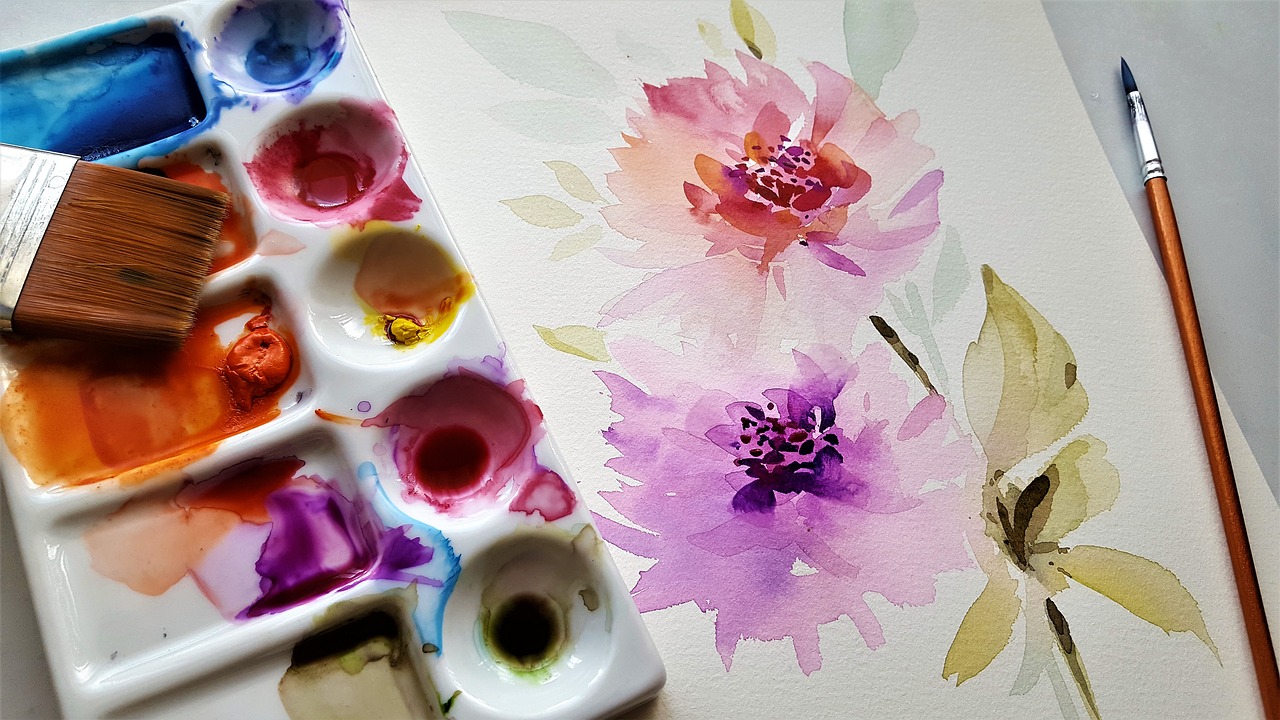
Try to be sure you have everything you need: brushes, pencil, a soft cloth, your watercolors and, of course, water. Unlike other painting techniques, watercolor demands special attention in the selection of the paper. The right paper will give a luminescent effect and will be strong enough.
Remember, you’re adding water to it, and in some cases you’ll want to rub it, to get different shapes and textures. And talking about textures, that will be part of your choices too: you’ll find hot pressed paper, bright and even, or cold pressed paper, that’s rougher. The roughness will intensify if you chose a, obviously, rough paper. Yes, that’s how it’s called.
Cold pressed paper is very popular, its medium level of texture gives a good surface to work, both for beginners or experienced artists because is not slippery.
Fix your paper on the table. That’s an important step because you won’t want the sheet to move, it needs to be nicely fixed so you will feel free to move the brushes and get the shapes and effects you want.
If you’re a beginner, work on an even table. If you place your paper vertically, the tones may spill. Do not do it, unless the spill effect is intentional.
White is your light
When it comes to watercolors, there’s this one thing you need to know: the whiteness of your paper is your light.
Again, we’re not working with oleo or acrylic, and you won’t be using the white paint to give luminosity to your painting.
So, the proper way to obtain light is starting with few: few color concentration and soft lines. Begin from the center to the outside. Dilute your colors well, and make sure you’re using enough water.
Once you set color over the paper, you’ll have the option of adding more water —water lines, we will call them—, to lower the intensity of the tones.
Add more color, less diluted, to the darker spots where you want to put the shadows. Do not apply colors nor water in the spots you want total light.

Colors and brushes
Take a look at your drawing and start adding color to it. For the base color, use a square flat brush, and dilute the watercolor well.
Try to fill the petals, the stem, the leaves, with soft movements. The base must be lighter, so you can have enough margin to add details and shades with more colors and concentrations.
Start with the center. Then, with the petals, from the center outwards. See how smooth and free strokes give you the desired effect.
A couple of small tips I can give you are:
- If you want stronger colors, use less water.
- If you want to blur them, wet your brush.
The thickness of your watercolor and water mixture is the secret here. Little dye and more water will give you light, pastel, and luminous colors. More dye and less water will give you strong and dark tones
You can also use this technique, I mean, wetting your brush when you want to merge colors. Keep in mind that you must clean your brush well before using it to combine colors over the paper.
The rigger or liner is round and pointy brush, perfect for drawing details. Use it with concentrated colors to apply details, draw lines or points, or to emphasize edges.
Fly free
At this point, you already have your drawing defined, and applied color and maybe some details. Now is time to go crazy.
That’s it.
Feel free, release your creativity, let your imagination be the limit.
Combine colors is you want. Add textures and depth, use dark colors to emphasize lights and shadows. Watercolors do not need to be perfect drawings, nor impeccable paintings.
In fact, they are blurred and wet representations of the figures and colors we find in reality, and that is precisely their beauty, that is their charm.
That said, do not be afraid to go a little crazy and add your personal touch to your work. That will make it special and unique, that will make it yours.
Let it dry
When you feel that you finished, let it set. Once dry, you will be able to appreciate the result of the color concentrations you used.
Once the first layers are dry, you will see that there is still possibility to continue working on your painting. Over dry watercolor you can add colors without necessarily mixing them, or add strokes that will be better distinguished from the background.
Also, if you give yourself the time and the opportunity to experiment, you will see that applying techniques of “washing” on the paint that you had previously dried can be interesting. Wet your brush and pass it on the watercolor, and let yourself go.
Some artists also “intervene” their paintings with different techniques, such as rubbing it with a wet cloth, or letting drop drops of water over dry paint, to achieve a splashing effect.
Remember, the final result of what you do will be better appreciated once the watercolor is completely dry. If you decide to dry each layer, you can even use a blow dryer to speed up the process.
Is not the piece of art you expected? Don’t worry. Like with everything else in this life, perfection will come with practice.
The hours of flight, the time you dedicate to perfecting the symbiosis between the brush and your hand, will guarantee you better and better results.
Why flowers?
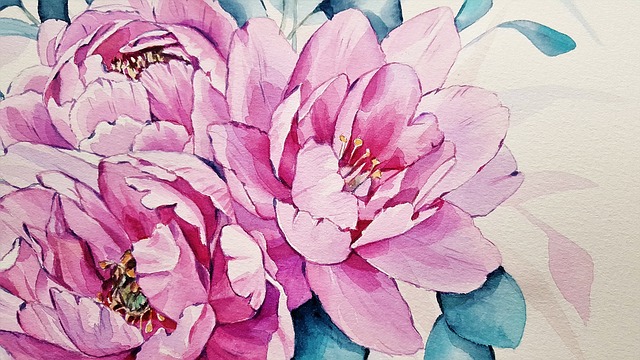
Flowers are a common theme used by beginning watercolorists. The beauty of the forms, as well as the variety of these, and the possibility of using a lot of colors are some of the reasons.
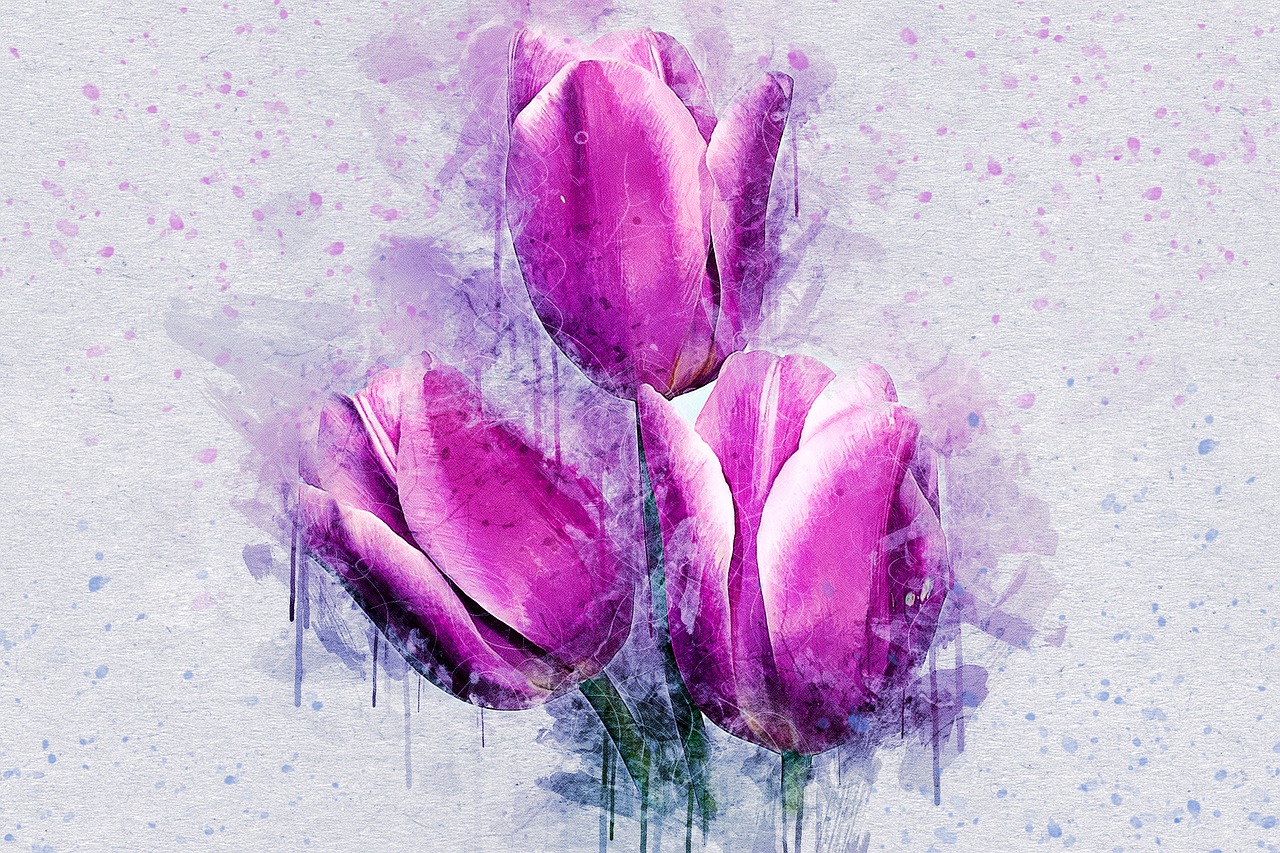
Imagine a lilac or a whole garden full of them. Maybe a vase with some placed carefully. Isn’t it an inspiring image? You can almost see the purple tones and think about the small short strokes that you will make to imitate the shape of its petals. Can you visualize the dark mauve?
Or let’s see a rose. The overlap of the petals, the softness of the lines, the firmness of the stems. A job for experts? Not necessarily. Every great artist had to paint many roses until perfecting his technique
Something simple to start? Try some lavenders. Its thin leaves and small petals are easier to trace with a small round brush. Give them a try.
Find a nice frame
Last but not least, find cute frames for your watercolor paintings. They don’t have to be expensive, and in fact, there are many paper or cardboard options available in the market.
A passe-partout, which is a cardboard frame that you place over the watercolor, is highly recommended because it respects the shape of the painting, which is usually slightly wavy.
This type of frame emphasizes the details and the expressiveness of the watercolor and prevents wrinkling, what would happen if it were mounted under glass.
A contrast effect is also achieved. If the watercolor has a dark background and the passe-partout has a light shade, the result will be a harmonic combination that will highlight the painting.
On the contrary, if your painting is more of light tones, you should use a dark frame, which will give you a depth effect.
This type of cardboard frame was used traditionally to protect the paintings from direct contact with the glass since it created a space between them. But the most modern tendencies aimed to use only the frame, for its aesthetic advantages and for providing better conservation of the works.
Passe-partout frames are used in paintings made with watercolor and in pastel, materials that allow obtaining drawings with tridimensional effects that are better appreciated if they are not placed under glass.
Want some inspiration? Let’s see some famous watercolor flower paintings:
- Carolyn Brady, “Green Dot Jug with Sunflowers”
This beautiful piece demonstrates how watercolor can be used to achieve fascinating realism effects
Look at the colors and the lines. Notice how she used the white of the paper and the intensity of the colors to give us wonderful effects of light and shadow.
- Judi Betts, “Stars and Stripes”
This work shows a masterful handling of the superposition of colors, and a striking domain of stroke and contrast. This is a style of watercolor painting less realistic and more voluptuous, still very beautiful.
- Charles Reid, “Urchfront Flowers”
Personally, one of my favorite watercolor flower paintings. The background is the white of the paper, over which a composition of “stains” is superimposed. The complete set gives shape to a colorful painting full of familiar elements.
Reid manages to captivate the viewer with the use of water over the lines of color previously drawn.
- Chuan-Hong Li, Flowers, and Chinese Calligraphy
This artist achieves spectacular combinations of flowers, generally of the same tone, combined with carefully drawn Chinese calligraphy.
The use of dark tones in the trunks and the arrangement of the drawings and characters gives his works a halo of nostalgia that reminds of traditional Chinese paintings.
Monochromatic flowers? Yes, please
Can you use the monochrome technique to paint flowers in watercolor? Of course! And the result will be more beautiful than you think.
First of all, I must clarify that the monochromatic technique can be a bit complicated for beginners, who may feel more comfortable with a wide palette of colors. But if you are determined to try it, here are some things you should know:
– Start with the lighter. Once you have your sketch in pencil, use a mixture of a lot of water and little paint for the base color layer.
– Let it dry. The first layer must be complete dry before you continue with the details.
– Set your palette. Imagine your color palette, from the lightest to the darkest: the lighter colors will be more diluted, and the darker, purer ones.
– Let it dry again. Letting each layer dry will allow you to get a better finish in a monochromatic watercolor. It will also give you more possibilities to define forms and add details.
Either with a single tone, or with a wide palette of colors, you will find yourself falling in love with the results of watercolor.
This is a technique that requires softness, care, attention to detail, and allows creativity to be unleashed in non-traditional ways.
The artist who manages to master the painting with watercolors, won’t have problems to learn any other technique. And the versatility is endless: you’ll be looking to combine different types of paper, using different types of brushes, and even other tools, such as swabs, to create new and fascinating things.
Also, the materials you will need are quite accessible. While you can find special watercolors and specific paper that are sold at high prices, there are also cheap ones, within reach of any budget.