Let’s get into the world of watercolor from a practical approach.
Good practices to keep in mind
Let’s consider some necessary steps so you can get the best possible results when applying watercolor painting techniques.
Stretch the paper
To avoid the paper to buckle it is necessary to stretch it before start painting. By using a broad brush, you can apply water washes on both sides of the paper. With paper towels press on the surface of the paper without rubbing to remove water excess. Then secure the paper with the help of four pieces of tape by bordering the sheet. Now only wait for the paper to dry before start painting.
Work from large to small areas
To avoid overlapping the more minor details, you have to start with the large washes, and gradually moving to more detailed areas. This will also give your artwork a more consistent look.
From light to dark
Generally, watercolor is worked from light to darker areas. This way you have more control over the shades of your painting. If you start with dark areas it would be challenging to correct details later, while it is not a big deal when you lose control of some light strokes, you can somehow repair by defining darker details then.

Use contrasting colors for shades
This will give your painting shape and depth. You can use colors like sepia and grey to create shadows. If what you need is to make a color darker, you can mix it with cold colors like blue or purple. To darken yellow, you can use brown.

Basic watercolor painting techniques
Even though in our previous posts we’ve talked about some basic techniques, let’s quickly overview the most basic methods that will prepare us to work on other techniques further.
You can create a variety of effects by merely controlling the wetness of paper and the amount of water you add to paints. By this variation, let’s consider some basic techniques:

Wet on wet
As it might be expected, this technique is about applying quite diluted paint on a damp surface. With this technique, you can create beautiful irregular shapes. This technique is recommended to add the initial layers of a painting.

Wet on dry
A conventional technique and provides a clean result. It’s about applying wet paint on dry paper. You can add more water directly on the paper to dilute the color more or spread it to cover more areas. It also creates sharp edges, that’s why it’s suitable to work with details or to cover large areas.
Dry on wet
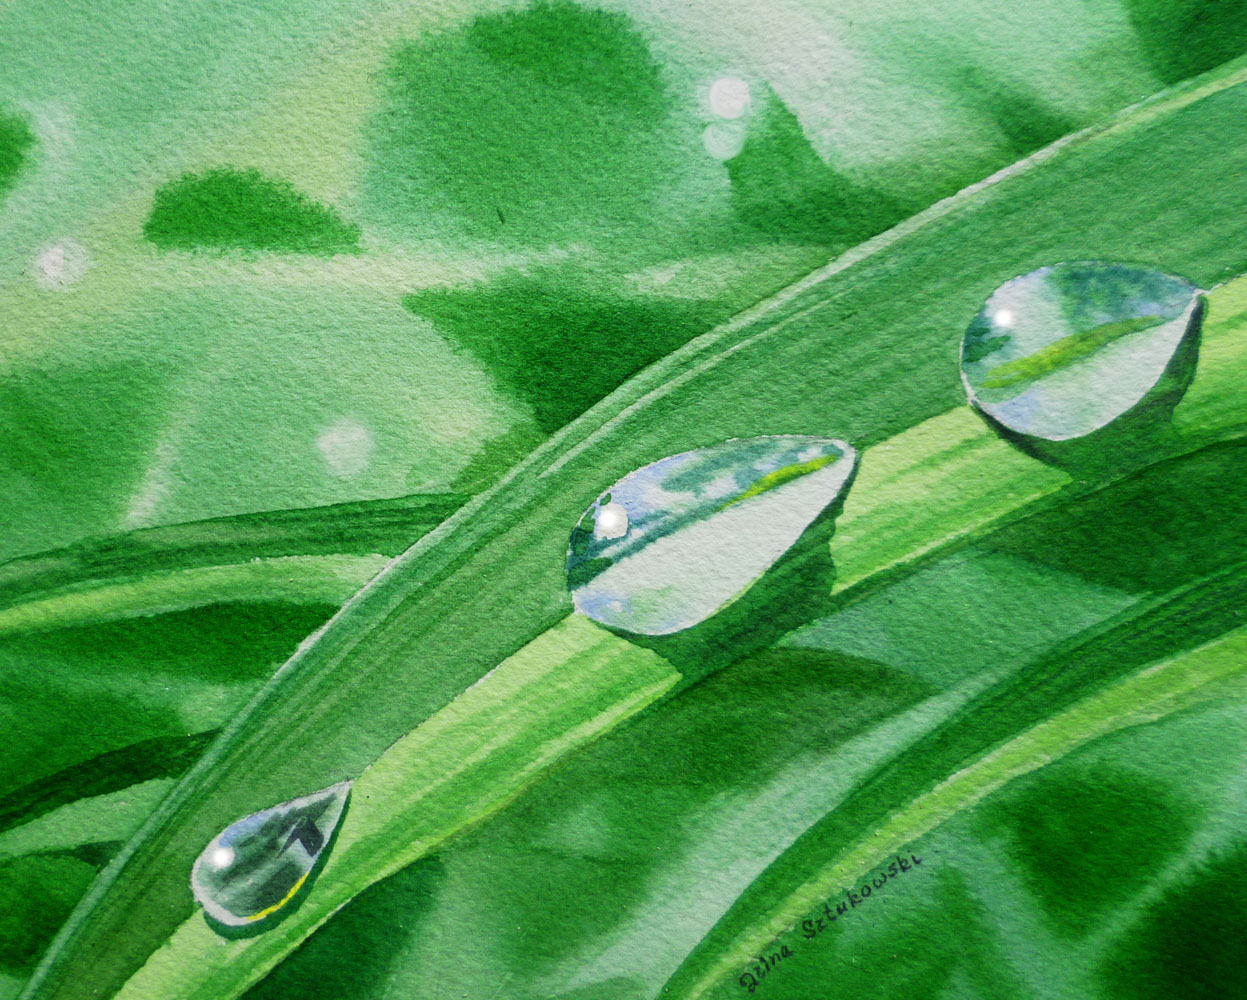
An original technique that can create impressive effects though. To work on this technique wet the paper as you would for the wet on wet technique. Then add a limited amount of water to the paint. In the case you are using paint tubes, you can add color directly on the paper without adding any water.
Dry on dry
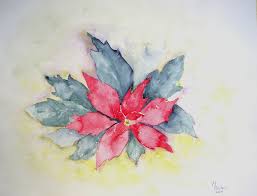
For this technique, you limit the amount of water to add to the paint that you will apply then on dry paper. Lines will produce an interesting effect as it skips small sections of particles of the paper leaving small irregular white areas.

Gradients
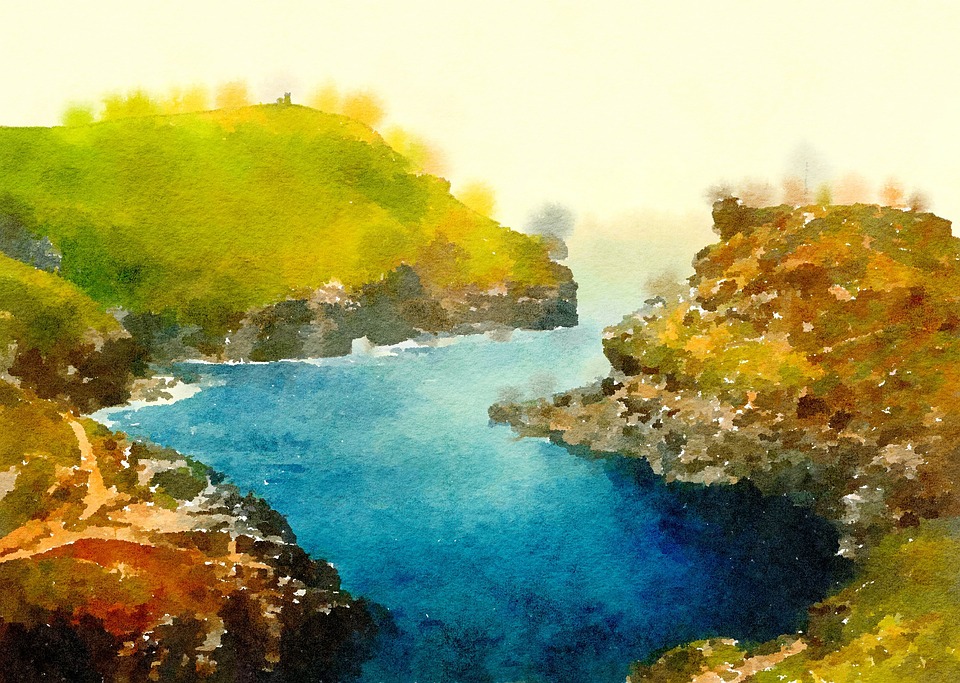
We can understand graduations in two different ways: a gradual change of color from dark to light, like a shade, or the continuous blending from one color turning into another one, like for example a sunset. The primary way to create a gradient is merely applying wet strokes on a previously painted wet surface. It can be either a darker version of the same color, a different hue or a different color. The idea is to create a smooth transition from one color to another.
There are three stages of watercolor blending depending on the effect we want to create.
- When the paint is wet, you can apply the second color right after having used the first layer. So the colors will be automatically blended. This approach is recommended when you are mixing the same colors or want to create a compelling look by using different colors.
- When the paint is beginning to dry, but still fresh. At this stage, you have more control over the malleability of the colors. If you find out that colors are not blending as much as you want, you can saturate the brush with water and apply water washes between the colors to mix them.
- A single color diffusion with water. You start by painting with intense color. Then with a brush wet with water apply water washes to diffuse the color, gradually turning to a lighter tone.


Creating textures
There are many different ways to create textures with watercolor to replicate what we see. Surely there are different things in nature that you would like to paint —the trees, the sand, a wall, a street, the stars. Knowing how to create textures will make your artworks more appealing.
Let’s see some creative ways to make textures and what you can achieve with them.

Simple textures with flicks of paint
A straightforward way to create textures is by making small lines with the brush. You can let them dry to apply more lines slightly overlapping the previous tracks and filling the blank areas, creating this way more texture. With this technique, you can create things like grass, foliage, animals fur, and so on.
Salt
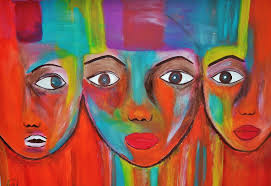
Watercolor allows applying different techniques by using other elements. The use of salt to create textures is one of the most exciting methods. Salt crystals sprinkled on wet paint will retain paint creating this way light spots. Once the paint is dried, remove the salt with the help of a brush. With this technique, you can create things like a textured background, snow, leaves, and a field with flowers, etc. It’s a matter of exploring the possibilities you have with this technique.

Splattering
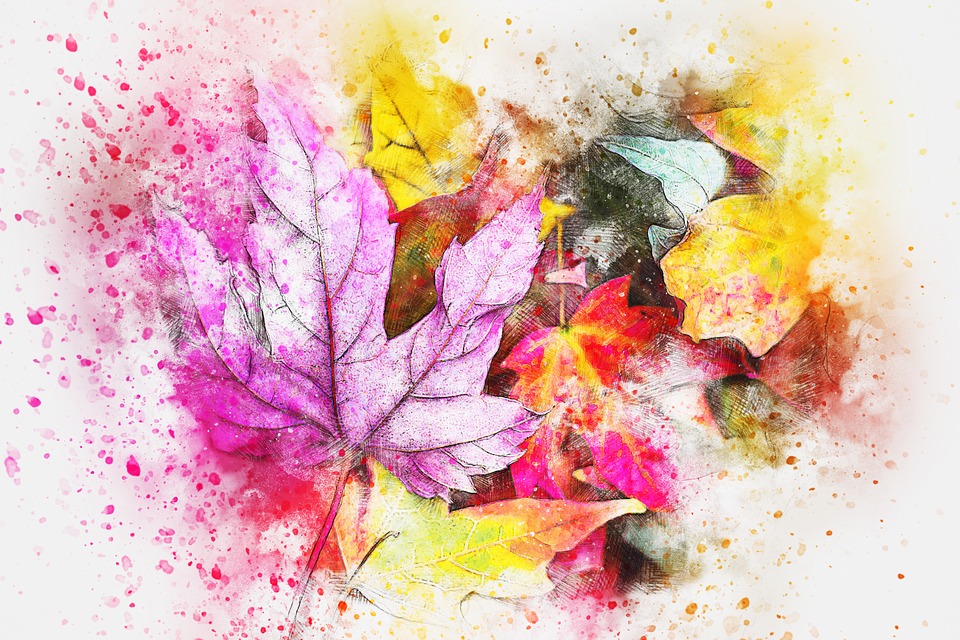
An enjoyable way to paint with watercolors is splashing out paint on paper to create background textures or other effects like a starry sky. This technique can have unpredictable results, but if you try it out, you’ll discover a lot of possibilities with it. Some factors like the size of the brush and the splatter direction can affect the result, or produce one effect or another.
Other techniques
There are other interesting techniques you can use to create different effects
Masking
This technique will allow you to preserve specific areas of the paper to highlight some white details. To use this technique, you must apply masking fluid to the area of paper to protect. Wait for the liquid to dry and then paint your artwork without worrying about having to paint over the fluid, that’s why you have used it. Then when the paint is completely dry, peel the liquid off to show the details of white areas.
Tissue
There are different ways to create textures or effects with tissues. To implement this technique paint an area with a desired color either a single color or blended colors. If what you want is to create a uniform texture, merely crinkle a paper towel or tissue and use it to cover the paint still fresh, press the paper a little and wait a moment, then lift the paper so that it leaves a texture on the color. Another way to apply this technique is selective. For example, after having covered an area with blue paint, you can use the tissue or paper towel to lighten specific areas to create clouds selectively.
Alcohol
Alcohol has the property to stray the pigments creating exciting effects. When the paint is still wet, dip a small round brush into rubbing alcohol and then apply drops to the paint. As the alcohol tends to push the color away, it will create lighter areas with the shape of bubbles. There are different ways to use alcohol, to create not only bubbles but other forms like irregular lines for interesting textures.
Keep in mind that alcohol might damage your brushes, so it is suggested to do it with an old brush or any other similar medium.
As you could appreciate, there are countless ways to create with watercolor painting techniques. Admittedly, there’s much more to be said about how to apply the techniques mentioned and even more to discover. You can make your way around in finding out on your own the creative application of the different mediums. Remember that practice is the key to constant improvement and discovery.

